

Many online businesses, including B2B companies, government agencies, educational institutions, and large wholesale buyers, often ask, “Can we check out now and pay later by invoice?” This inquiry relates to a popular B2B payment option known as invoice payment, “Net Payment Terms,” or “Pay Later” checkout in Shopify.
While Shopify doesn’t offer a direct invoice-based checkout right out of the box, setting it up is a breeze with its built-in features. With a few smart tweaks to your workflow and some helpful app integrations, you can have it running smoothly in no time.
In order to improve your B2B eCommerce capabilities, this guide will give you a clear, step-by-step process for enabling invoice payments (such as Net 30, Net 60) directly within your Shopify store.
Understanding Net Terms or Pay Later Checkout in Shopify
The Net Terms or Pay Later checkout in Shopify option fundamentally changes the point of payment in a transaction:
- Order Submission: Without making an immediate payment, your customer completes the checkout process by placing an order, frequently accompanied by a Purchase Order (PO) number.
- Shipping & Fulfillment: As the merchant, you carry on with the order’s normal shipping and fulfillment.
- Deferred Payment: The invoice is paid by the client within a predetermined window of time, usually 30 (Net 30), 45 (Net 45), or 60 (Net 60) days after the invoice date.
For serving wholesale distributors, buyers, institutions, and established corporate accounts that normally function on credit terms rather than immediate credit card payments, this trade credit approach is absolutely necessary.
Who Benefits from Pay Later Checkout in Shopify?
This payment flexibility is crucial for:
- For wholesale/b2b buyers, such as distributors, resellers, and other large buyers who must receive goods before payment, this payment flexibility is essential.
- Non-profits and government agencies are businesses with particular procurement procedures that depend on invoice-based payments.
- Companies with established credit lines or procurement departments that handle payments centrally are considered approved corporate accounts.
- Loyal business-to-business clients with whom you have pre-approved credit terms are known as existing trusted customers.
- Educational Institutions: Purchase order systems are frequently needed by colleges, universities, libraries, and schools.
How to Set Up Pay Later Checkout in Shopify (Without Shopify Plus)
Follow these simple, actionable steps to enable invoice payment options in your Shopify store:
Step 1: Enable a Custom Manual Payment Method (“Invoice” or “Net Terms”)
Shopify provides the necessary infrastructure for manual payments.
- Access Payment Settings: In your Shopify Admin, navigate to Settings → Payments
- Add Manual Method: Under the “Manual payment methods” section, click “Add manual payment method.”
- Name It Clearly: Give your method a descriptive and professional name that B2B customers will understand, such as:
- Invoice (Net 30)
- Pay by Purchase Order
- Wire Transfer (Approved Accounts Only)
- Provide Instructions: Crucially, add clear payment instructions. This is where you communicate the terms and eligibility:
- “This option is only available for approved business accounts and wholesale partners.”
- “An invoice will be emailed to your registered account after checkout, payable within 30 days.”
- “Please ensure your Purchase Order (PO) number (if applicable) is entered in the order notes field.”
- Visibility: Customers will now see this payment option alongside traditional credit card or digital wallet options at checkout.


Ready to impress your B2B customers? Manage your B2B Payment Terms like a pro! 🙂
Try our Wholesale Pricing Discount app for free !
Trusted by over 15,000 Shopify merchants
Step 2: Control Who Can Use Invoice Payment (Customer Segmentation)
To keep all customers from using invoice terms, we need to put a solid control system in place:
1. Use Shopify Customer Tags (Primary Method): This is the most effective and scalable way to manage eligibility.
Here, you can pre-approve customers (e.g., via a B2B registration form) and tag their Shopify accounts with specific indicators, such as:
net-30-eligibleinvoice-approvedwholesale-partner
- While Shopify’s native manual payment methods DON’T hide based on tags, you can (and should) clearly state in the instructions (from Step 1) that this option is only for approved, tagged customers. You would then manually review orders placed via this method by untagged customers and follow up as necessary.
- For stricter control: On Shopify Plus, you can use Shopify Scripts to hide/show payment gateways based on customer tags dynamically. For other Shopify plans, you can use a B2B lock app for Shopify, such as Wholesale Lock Manager: B2B, which may allow you to restrict access to your B2B payment gateway page. OR you can also manage all your processes of buy now, pay later checkout in Shopify with the Wholesale Pricing Discount B2B app. This app offers a net payment terms checkout like Net30, Net60, Net90, where Shopify merchants can customize it for each customer type (based on tags).
2. Clear Communication: It is also important to make sure that your B2B signup page, wholesale terms and conditions, and pre-checkout information clearly state the requirements for using this pay-later (invoice) payment option.
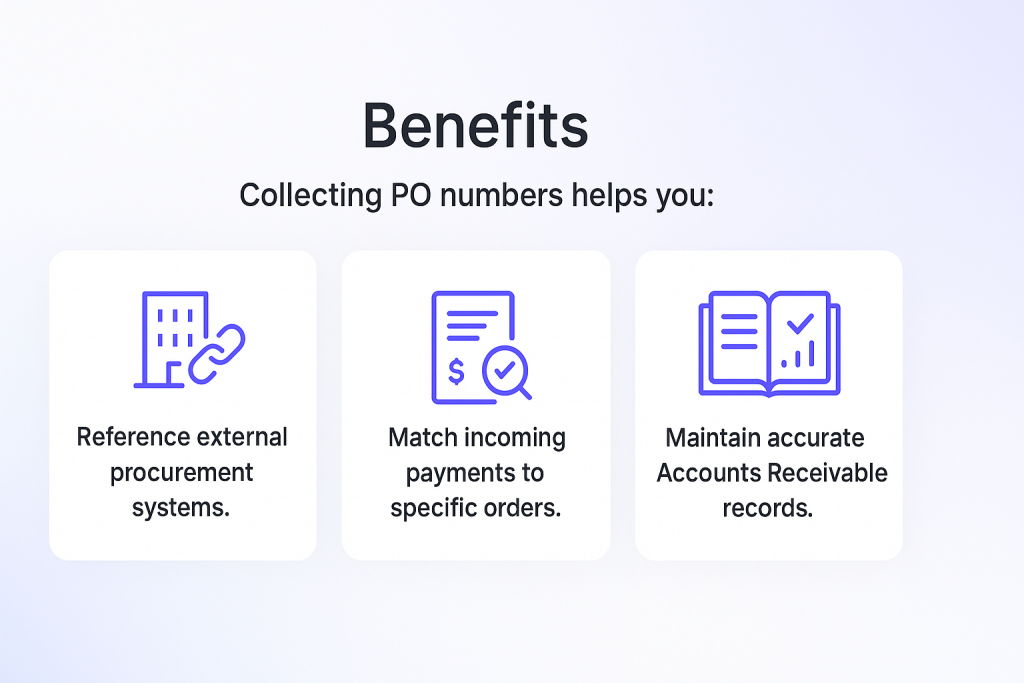
Step 3: Collect Purchase Order (PO) Numbers (Recommended for B2B)
Purchase Order numbers are vital for B2B tracking and reconciliation. Here are the things you might need to implement.
- Shopify’s Cart Notes: Enable the “cart notes” field in your theme settings, and instruct customers to input their PO number here. This is simple and built-in.
- Additional Checkout Fields (Via Apps): For a more structured approach, use a Shopify app designed to add custom fields to the checkout process. Search the Shopify App Store for “PO Number,” “Order Notes,” or “Custom Fields at Checkout” apps. These allow for dedicated input fields that appear clearly during checkout.

Step 4: Create and Send Invoices, and Track Payments
Once an invoice-based order is placed, your workflow shifts to fulfillment and Accounts Receivable.
- Order Status in Shopify: Shopify will automatically create an “unpaid” order in your admin dashboard.
- Invoice Generation:
- Manually: Generate a formal invoice using your preferred accounting software (e.g., QuickBooks, Xero, FreshBooks, Zoho Books). You’ll typically pull the order details from Shopify and input them into your accounting system.
- Automated Integration: Implement direct integrations between Shopify and your accounting software. Many modern accounting platforms offer native Shopify connectors, or you can use integration tools like Zapier to automate order syncing and invoice creation.
- You can also choose Shopify invoice creator apps – available on the App Store.
- Send Invoice: Email the formal invoice to your customer’s billing contact.
- Mark Order Paid: Once you receive payment (via bank transfer, check, etc.), manually mark the order as “paid” in your Shopify admin. This updates your order status and financial records.
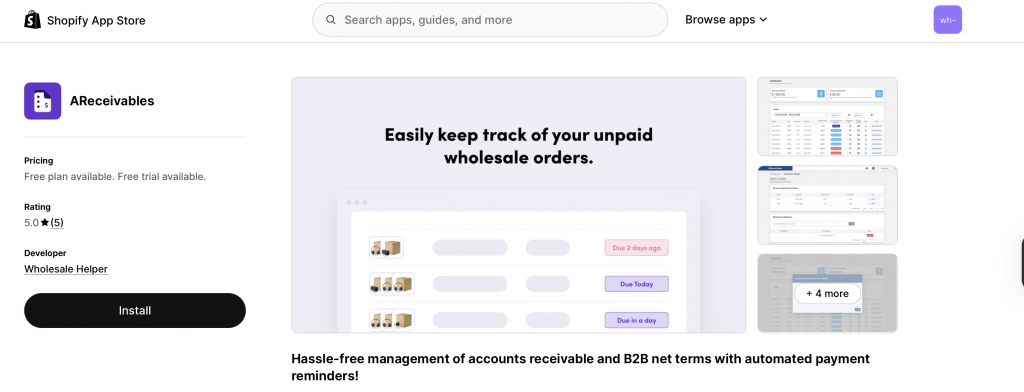
- AReceivables (Recommended App): For managing unpaid b2b invoices, sending automated payment reminders, tracking balances, and simplifying your Accounts Receivable workflow, a dedicated app like AReceivables is invaluable. This tool helps you maintain healthy cash flow and ensures timely payments.

Real-World Example of Implementing Pay Later Checkout in Shopify
Business: A leading provider of Commercial Office Supplies to businesses and institutions globally.
- Customer: A local government department (pre-approved and tagged net-30-approved in Shopify).
- Ordering Process: The department’s procurement officer browses the online catalog on the Shopify store. They add needed supplies to their cart and proceed to checkout.
- Payment Selection: At the payment step, they select “Invoice (Net 30)” from the available options.
- PO Number Input: They enter their internal Purchase Order number in the designated checkout field (added via a custom fields app).
- Order Placement: The order is placed in Shopify as “unpaid.”
- Invoice & Fulfillment: The commercial office supplies company receives the order, automatically syncs it to their QuickBooks account (via integration), which then auto-generates a formal invoice. The order is then fulfilled and shipped.
- Payment & Reconciliation: The local government department pays the invoice via bank transfer within 30 days. The company’s finance team then marks the order as “paid” in Shopify and QuickBooks, completing the transaction cycle.
This entire, streamlined flow for B2B payment terms is managed effectively within a standard Shopify setup, without the need for Shopify Plus or complex custom coding.
Recommended Apps (Optional, but Highly Recommended for Efficiency)
| Purpose | Recommended Tool(s) | Benefit |
| Invoice payment option at checkout | Shopify Manual Payments (built-in) | Core functionality; no app needed for basic option. |
| Invoice automation & accounting | QuickBooks, Xero, FreshBooks, Zoho Books | Automate formal invoice generation, manage ledgers, simplify financial reporting. |
| Invoice reminders and management | AReceivables | Automate payment reminders, track balances, streamline Accounts Receivable workflow for B2B. |
| Bulk ordering for wholesale buyers | WSH Order Form & ReOrder | Enhance B2B ordering experience with fast, multi-SKU selection. |
| Customer tagging & workflow automation | Shopify Flow (Advanced/Plus) or automation apps | Automate approval workflows, customer tagging, and internal notifications for B2B leads. |
| Custom checkout fields (for PO numbers) | Shopify App Store: “PO Number” or “Custom Fields” apps | Add dedicated fields at checkout for collecting crucial B2B order information like PO numbers. |
Ready to impress your B2B customers? Manage your B2B Payment Terms like a pro! 🙂
Try our Wholesale Pricing Discount app for free !
Trusted by over 15,000 Shopify merchants
Final Summary: Successfully Enable Pay Later Checkout in Shopify
Providing invoice or Pay Later Checkout in a Shopify store is essential to efficiently catering to your institutional, B2B, and wholesale clients. It’s an easy process that doesn’t require sophisticated coding or Shopify Plus.
All you need is a strategic combination of:
- A well-defined manual payment method (e.g., “Invoice (Net 30)”).
- Clear customer segmentation (via tags) and communication to control eligibility.
- Optional, but highly recommended, integration with robust accounting software and Accounts Receivable management apps for streamlined invoicing and tracking.
This powerful setup allows you to provide essential B2B credit terms, significantly improving the purchasing experience for your high-value business clients, fostering loyalty, and expanding your market reach.
Frequently Asked Questions (FAQs) About Invoice, Net Terms, and Pay Later Checkout in Shopify
These FAQs address common queries regarding enabling Pay Later checkout in Shopify.
Can any customer use the invoice checkout option by default?
By default, once you enable a manual payment method, it will be visible to all customers at checkout. However, you must clearly communicate through instructions and your B2B signup process that this option is exclusively for approved wholesale accounts or B2B partners with pre-established credit terms. You should always manually review orders from untagged customers who select this option.
Is Shopify Plus required to offer invoice or Net 30 checkout?
No, absolutely not. All the methods described in this guide for enabling “Pay Later” (Invoice, Net 30/60) are fully achievable on Shopify Basic, Standard, and Advanced plans by utilizing Shopify’s built-in manual payment methods and smart workflows, complemented by key apps. Shopify Plus offers a more native B2B suite, but it’s not a prerequisite for this functionality.
How can I automatically generate and send invoices to my customers with Net Terms?
Shopify does not automatically produce official invoices, even though it creates an unpaid order. By connecting Shopify with well-known accounting programs like QuickBooks, Xero, FreshBooks, or Zoho Books, you can automate this process. You can use integration platforms like Zapier to sync orders and initiate automated invoice generation and sending, or many of these offer direct Shopify connectors.
What’s the best way to track unpaid invoices and send payment reminders?
Manually tracking unpaid invoices can be cumbersome. Apps like AReceivables are specifically designed for this. They automate payment reminders, provide a clear dashboard for tracking outstanding balances, and simplify the management of all your Accounts Receivable for B2B orders.
Can I charge different service fees for using “Pay Later” compared to immediate credit card payments?
Shopify’s manual payment methods do not have built-in options for adding a service fee. While you could manually adjust order totals or send a modified invoice, for automated service fee application based on payment method, you might need a highly specialized app or custom development, as this is a complex financial rule.
How do I pre-qualify customers for Net Terms before they can use the checkout option?
Pre-qualification typically involves a B2B application form (Step 1), a manual review process (Step 2), and then tagging the approved customer accounts. This ensures that only verified wholesale buyers or B2B partners are eligible for invoice payments, even if the option is visible to others.
Can I set different Net Terms (e.g., Net 30 for some, Net 60 for others) based on customer type?
Yes. This would primarily be managed through your internal communication and invoicing process. You would tag customers differently (e.g., net-30-eligible, net-60-eligible) and ensure your accounting system sends the correct invoice terms. While the Shopify checkout option might just say “Invoice,” your formal invoice will specify the exact terms.
What happens if a customer doesn’t pay their invoice by the due date?
If an invoice becomes overdue, you would follow your standard Accounts Receivable collection process. An app like AReceivables can automate sending overdue notices. For persistent non-payment, you would manually follow up, potentially suspend their Net Terms privileges, or engage collection services.
Can I allow customers to submit their own Purchase Order (PO) document at checkout?
Shopify’s default checkout doesn’t allow document uploads. You could instruct customers to email their PO document after placing the order via the “Pay Later” method. Alternatively, some custom checkout field apps might integrate with document upload features, or you could provide a link to an external file upload service on your order confirmation page.
How do “Pay Later” orders affect my inventory tracking in Shopify?
Integrating directly with a specific procurement platform (e.g., Ariba, Coupa) often requires more advanced API integration or specialized Shopify apps designed for EDI (Electronic Data Interchange) or specific B2B SaaS platform connectors. This is typically a more complex setup beyond a basic “Pay Later” option.
What about multi-currency support for invoice payments for international B2B customers?
If you’re using Shopify Markets for multi-currency display, the order will be placed in the customer’s chosen currency. Your accounting software would then generate the invoice in that same currency. It’s crucial that your accounting system supports multi-currency invoicing for international B2B transactions.